Things you'll need: Cork coasters, white acrylic paint, a paint brush, a spray paint in the colour of your choice, another spray paint in the accent colour of your choice and a sealing spray

Step 1: Paint all the coasters with the base coat of white acrylic paint. This step can be optional, but I find that in order for the colours to be vibrant, this really helps.

Step 2: Set up an area where it is safe to spray paint and go to town! As you can see, I've included here a box lid that I will be using for another project that essentially follows the same steps.


Steps 3 + 4: I don't have pictures of these, but all I did is waited until the coasters were completely dry, in my case I waited until the next weekend as I never have time on weeknights, but as long as they are dry it should be fine. I used masking / painters tape to create an array of designs, making sure to tape over the areas I wanted to remain the minty blue colour. I then sprayed with my gold paint and let dry. The gold I used was really good quality so only one coat was needed, but spray as desired.
Step 5: Right after you spray and the paint is still wet, delicately remove the tape and leave to dry.
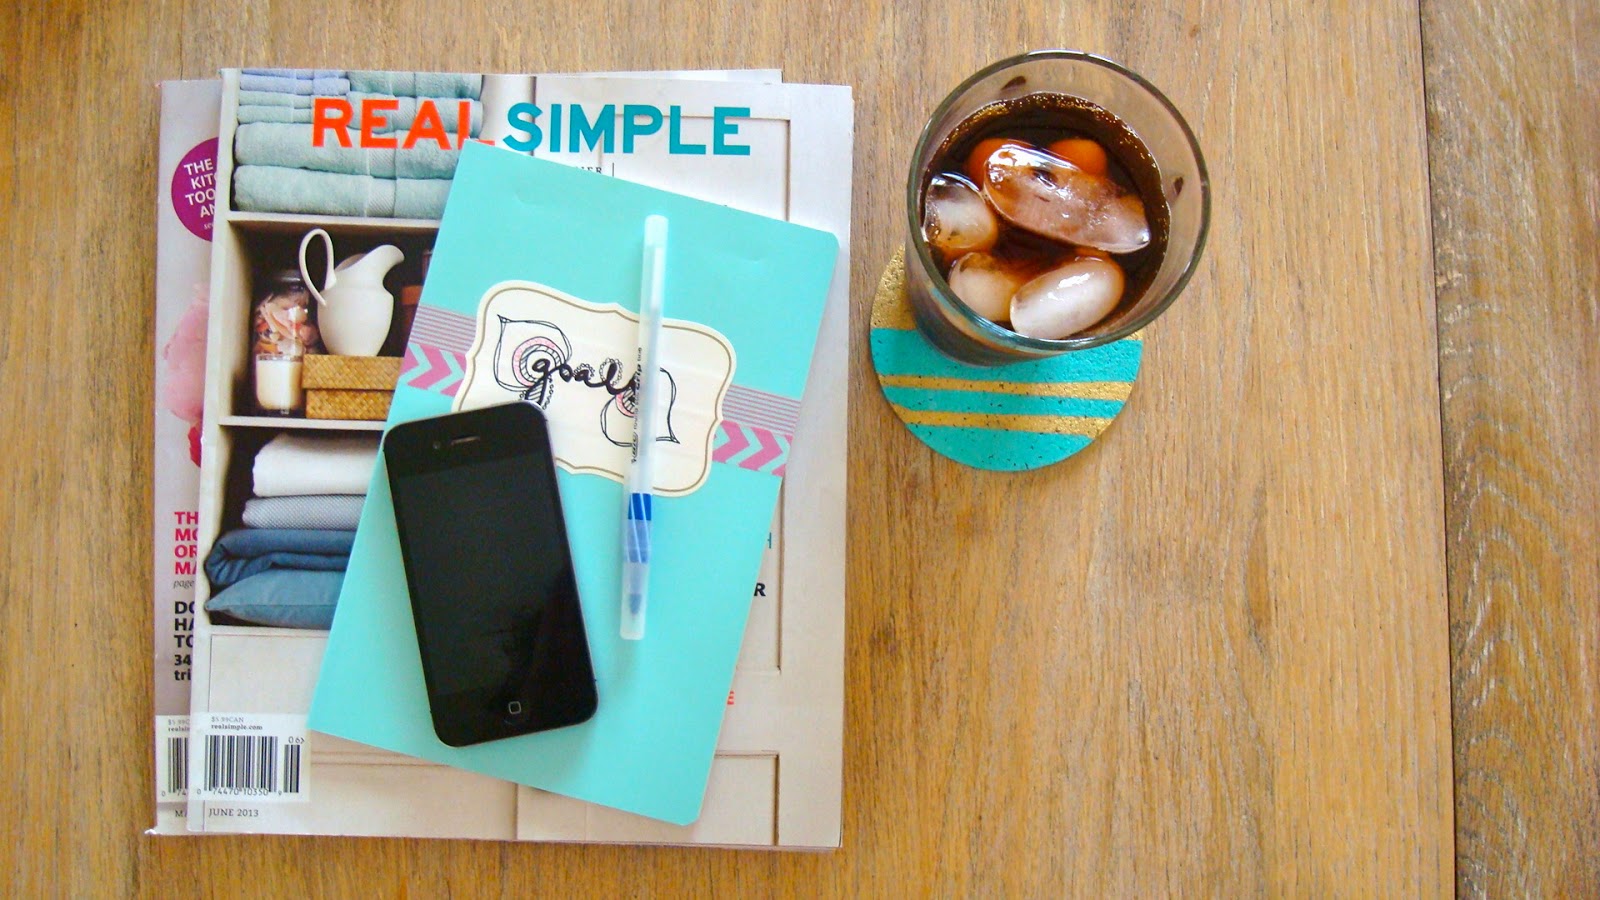
Step 6: Enjoy your beautiful, custom designed new coasters! I used a theme of mixing geometric with organic patterns, making sure each design lacks consistency. I wanted them to reflect my style, so make sure you use patterns that reflect who you are!
Here is the finished product:


Let me know if you make your own coasters, I'd love to see pictures!
B
No comments:
Post a Comment